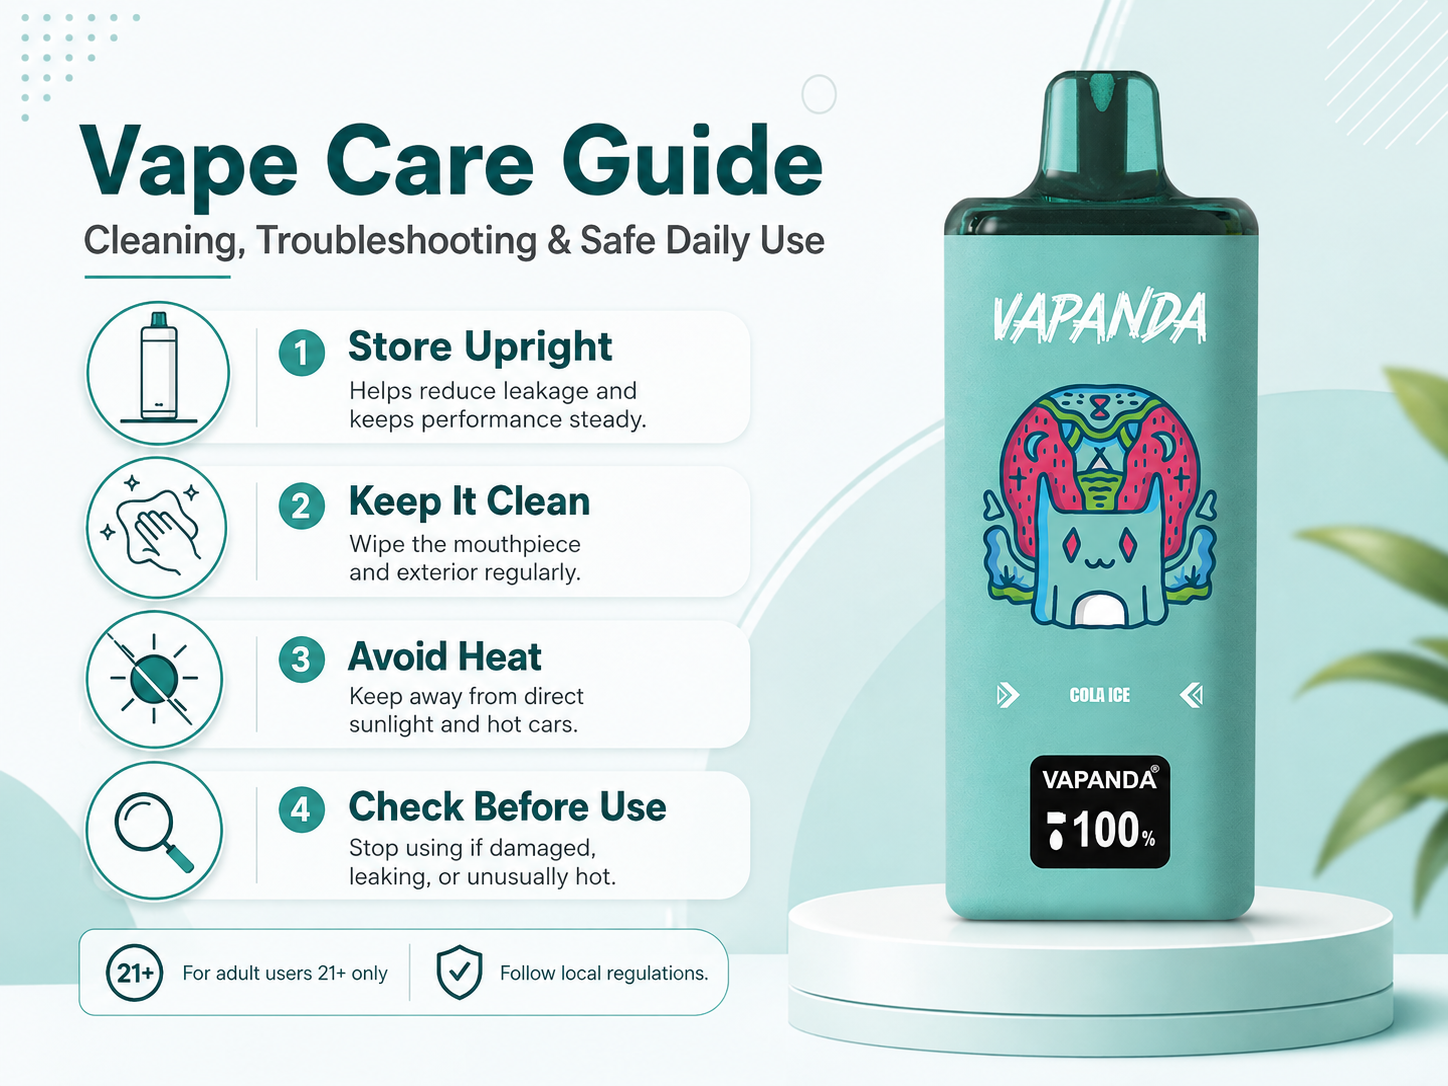
Vape Tank Maintenance Guide: Cleaning, Troubleshooting and Safe Care
Reusable vape tanks contain parts that wear, collect residue and require periodic inspection. Cleaning can help maintain airflow and reduce flavour carryover, but it cannot repair a damaged battery, cracked glass, burnt wick or failed electronic component.
Before doing any maintenance, read the instructions for the specific tank and device. Designs vary, and a procedure that is suitable for one tank may damage another.
Safety first
Before cleaning or disassembling a tank:
- Turn the device off.
- Disconnect the tank from the mod or battery section.
- Work on a stable, well-lit surface away from children and pets.
- Remove e-liquid carefully and avoid contact with skin or eyes.
- Keep batteries, USB ports, displays, chipsets and other electronic parts away from water.
Do not continue using a device that is unusually hot, visibly damaged, swollen, leaking from the battery area, producing an electrical smell or behaving unpredictably. Stop using it and follow the manufacturer's support or disposal instructions.
Main tank components
| Component | Function | Maintenance approach |
|---|---|---|
| Coil or coil head | Heats e-liquid | Usually replaced, not washed and reused |
| Wicking material | Moves e-liquid to the heating area | Replace if burnt or damaged |
| Tank chamber | Holds e-liquid | Clean only as the manufacturer permits |
| Glass or plastic reservoir | Forms the liquid container | Inspect for cracks, clouding or damage |
| O-rings and seals | Reduce leakage | Inspect and replace when worn |
| Airflow system | Controls air intake | Remove condensation and visible residue |
| Drip tip | Mouthpiece | Clean using a method suitable for its material |
Not every tank is designed to be fully disassembled. Do not force press-fit parts or remove embedded seals unless the manual says they are user-serviceable.
How to clean a reusable vape tank
Step 1: Empty and isolate the tank
- Turn the device off.
- Remove the tank from the battery or mod.
- Empty the remaining liquid according to local disposal guidance.
- Wipe the outside before opening it to reduce the chance of liquid spreading.
Do not pour nicotine-containing e-liquid down a drain. Local waste rules vary, so check with the appropriate hazardous-waste or environmental service.
Step 2: Disassemble only removable parts
Depending on the design, removable parts may include:
- Drip tip
- Top cap
- Glass section
- Base
- Replaceable coil head
- User-replaceable O-rings
Keep small parts organised. If a component resists normal hand pressure, stop and consult the manual rather than using tools that may damage threads, glass or seals.
Step 3: Separate washable and non-washable parts
Glass and some plain metal parts can often be rinsed with lukewarm water, but only when the manufacturer permits it.
Do not place the following in water:
- Battery or mod
- USB charging port
- Display or control board
- Integrated electronic pod or tank
- Coil head, unless the manufacturer explicitly provides a cleaning procedure
Avoid boiling water, household solvents, bleach and aggressive cleaners. These can damage seals, coatings and plastics or leave residues.
Step 4: Clean suitable parts
For manufacturer-approved washable components:
- Rinse with lukewarm water.
- Use a soft, lint-free cloth or a soft brush where appropriate.
- Pay attention to threads, the drip tip and accessible airflow areas.
- Inspect O-rings for cuts, flattening or stretching.
- Rinse away any permitted cleaning material completely.
Replace cracked glass and damaged seals. Cleaning cannot restore their structural integrity.
Step 5: Dry completely
Allow washed parts to air-dry fully on a clean surface. Check threads, airflow channels and the inside of the reservoir before reassembly.
Do not reconnect a wet tank to a powered device. Residual water can affect liquid consistency, electrical contacts and device operation.
Step 6: Reassemble without overtightening
Install seals in their correct positions and tighten components until secure. Excessive force can deform O-rings, damage threads or stress glass.
How to prepare a new coil
Coil preparation is product-specific. Follow the coil or tank instructions first.
For many replaceable-coil tanks, the general process is:
- Install a compatible coil correctly.
- If the manufacturer instructs users to wet exposed wick ports, apply only the stated amount.
- Fill the tank without exceeding its marked fill level.
- Close the tank and wait for the stated saturation time.
- Start at the lower end of the printed coil range and adjust only within that range.
Do not drip liquid into parts that are not identified as wicking openings. Some sealed pods are designed to be filled and rested without direct priming drops.
Why tanks leak
Leakage can have more than one cause:
| Possible cause | What to check |
|---|---|
| Damaged or displaced O-ring | Inspect and replace with the correct seal |
| Loose or overtightened parts | Reassemble according to the manual |
| Incorrect coil installation | Remove and reinstall a compatible coil |
| Overfilling | Keep below the marked maximum |
| Condensation | Clean the drip tip and accessible airflow path |
| Unsuitable liquid viscosity | Check device and liquid compatibility |
| Temperature or altitude change | Inspect for pressure-related leakage |
| Cracked reservoir | Stop use and replace the damaged part |
Internal pressure affects how liquid moves, but it is not the only explanation. Seal condition, temperature, altitude, viscosity and tank design can all contribute.
Troubleshooting common problems
Burnt taste
Possible causes include:
- An old or damaged coil
- A wick that was not fully saturated
- Power above the coil's rated range
- Low liquid level
- Repeated draws faster than the wick can resupply liquid
Stop using the device if the burnt taste persists. Replace the coil or pod where appropriate. A charred wick does not return to its original condition after adding more liquid.
Gurgling or spitback
Possible causes include excess liquid in the coil chamber, condensation, overfilling or an incorrectly seated coil.
Turn the device off before cleaning accessible areas. Do not insert hard objects into the chimney or coil, and do not use excessive heat to clear liquid.
Reduced vapour or weak flavour
Check:
- Battery charge
- Airflow obstruction
- Coil age
- Liquid level
- Electrical contacts
- Manufacturer-recommended power range
- Liquid compatibility
Do not compensate automatically by raising power. Excessive power can damage the wick and increase overheating.
Restricted airflow
Remove visible condensation or lint from user-accessible airflow areas with a dry, lint-free material. Do not push debris deeper into the device or dismantle non-serviceable airflow components.
MTL and DTL maintenance differences
Higher-output DTL tanks often use more liquid and heat per draw, while MTL tanks usually use less power and smaller airflow channels. These tendencies affect what needs attention.
DTL-oriented tanks
- Check coil condition and the rated power range regularly.
- Use only batteries and mods suitable for the required current.
- Keep larger airflow openings and contacts clean.
- Confirm that the e-liquid viscosity is compatible with the coil.
MTL-oriented tanks
- Watch for condensation in narrow chimneys and drip tips.
- Keep small airflow openings clear.
- Check that thinner liquids are not flooding the coil.
- Use the correct coil rather than relying only on airflow adjustment.
For a broader comparison, see MTL vs DTL vs RDL.
Storage and charging
- Keep the device away from extreme heat, cold and direct sunlight.
- Store it where children and pets cannot see or reach it.
- Use only a charger and battery arrangement permitted by the manufacturer.
- Charge on a clean, flat, visible surface away from flammable materials.
- Do not leave a charging device unattended or charge it on a bed, sofa or pillow.
- Protect exposed removable batteries from keys, coins and other metal objects.
Handling e-liquid safely
Nicotine-containing e-liquid can be harmful if swallowed and can cause injury through skin or eye exposure.
- Keep it in its original, closed container.
- Avoid skin and eye contact.
- Wash skin thoroughly with soap and water after accidental contact.
- Rinse eyes with water and seek medical advice if symptoms or vision changes occur.
- Clean spills promptly while keeping children and pets away.
- Contact the appropriate local poison service or emergency provider after ingestion or significant exposure.
Emergency numbers vary by country. Do not rely on a phone number from another jurisdiction.
When to replace rather than clean
Replace a consumable or damaged part when you find:
- Persistent burnt taste
- Cracked glass or plastic
- Torn, flattened or missing seals
- Corroded or damaged contacts
- A coil outside its normal service condition
- A component the manufacturer marks as single-use
Stop using the whole device after battery swelling, abnormal heat, smoke, sparking, impact damage near the battery or signs of an internal leak.
End-of-life disposal
Vape devices may contain lithium batteries and residual nicotine. Do not put them in ordinary household rubbish or mixed recycling where local rules treat them as hazardous or electronic waste. Do not pour nicotine liquid down a drain.
Use an approved household hazardous-waste, battery or electronic-waste collection route available in your jurisdiction. Do not attempt to remove an embedded battery or cartridge unless the manufacturer designed it to be removed safely.
Maintenance checklist
| Task | When |
|---|---|
| Inspect glass, seals and threads | During refilling or cleaning |
| Remove condensation | When it becomes visible or airflow changes |
| Clean washable tank parts | When changing flavours or residue appears |
| Replace coil or pod | When performance declines or the manual requires it |
| Inspect battery and charging area | Before charging and after impact |
| Review disposal route | Before discarding devices, batteries or nicotine liquid |
Final thoughts
Good maintenance is less about aggressive cleaning and more about correct separation, inspection and timely replacement. Keep electronics dry, follow product-specific instructions and stop using damaged or persistently burnt equipment.
Adult-use and safety notice
This article is intended for adults of legal smoking or vaping age and provides general maintenance information, not medical advice. Nicotine is addictive. Vaping products are not risk-free. Keep all devices and e-liquids away from children and pets and comply with local laws.